A Beginner-Friendly Guide: How to Get Highly Anonymous Proxy IPs for Free
Have you ever run into this situation: you want to do some web data scraping or manage multiple accounts, but your IP keeps getting blocked, and the webpage shows “abnormal access”?
Many beginners, when first encountering proxy IPs, think that “any free IP will work.” As a result, they find them not only unstable, but also potentially leaking their real IP.
Next, I’ll walk you step by step through how to get relatively reliable high-anonymity proxy IPs for free, how to evaluate IP quality, and how to avoid being detected—so that even complete beginners can easily understand.

1. What Is a Proxy IP? Beginners Should Understand This First
Simply put, a proxy IP is an IP address that “relays” your network requests.
When you access a website through a proxy IP, the site sees the proxy server’s IP instead of your real IP.
Common use cases include:
• Data scraping and crawler testing
• Multi-account environment isolation
• Network access testing
• Privacy protection
However, not all proxy IPs are good. Anonymity level and stability are critical.
2. Proxy IP Anonymity Levels Every Beginner Must Know
Proxy IPs on the market are generally divided into three types:
• Transparent proxies: Almost useless. Websites can directly identify your real IP. Beginners should skip these.
• Anonymous proxies: They hide your real IP, but websites can still tell that you are using a proxy.
• High-anonymity proxy IPs (key point): They hide your real IP and are hard to detect as proxies. This is the most recommended option for beginners.
For the free channels mentioned later, it’s recommended to use only high-anonymity proxy IPs.
3. Common Ways to Get Free Proxy IPs (Tested and Usable)
Many beginners immediately search for “free proxy IPs” and end up falling into countless traps. Here are some relatively reliable approaches:
1. Free Proxy IP Websites (Filtering Required)
Common types include:
• Free HTTP / HTTPS proxy lists
• Shared proxy pools updated regularly
But be sure to note: Free does not equal usable—IP quality checks are essential.
2. Technical Communities or Open-Source Proxy Pools
Some technical forums and GitHub projects share available proxy pools, suitable for beginners with some technical background.
Pros:
• High update frequency
• Built-in availability checks
Cons:
• Requires manual filtering
• Not suitable for complete beginners
4. Don’t Ignore the Browser Fingerprint Environment—Even the Best IP Won’t Help
This is one of the most commonly overlooked points by beginners. Even with a high-anonymity proxy IP, an abnormal browser fingerprint can still get you identified.
Common browser fingerprint elements include: User-Agent, Canvas fingerprint, WebGL, time zone, language, and font information.
👉 Therefore, proxy IPs must be used together with a clean and stable browser fingerprint environment.
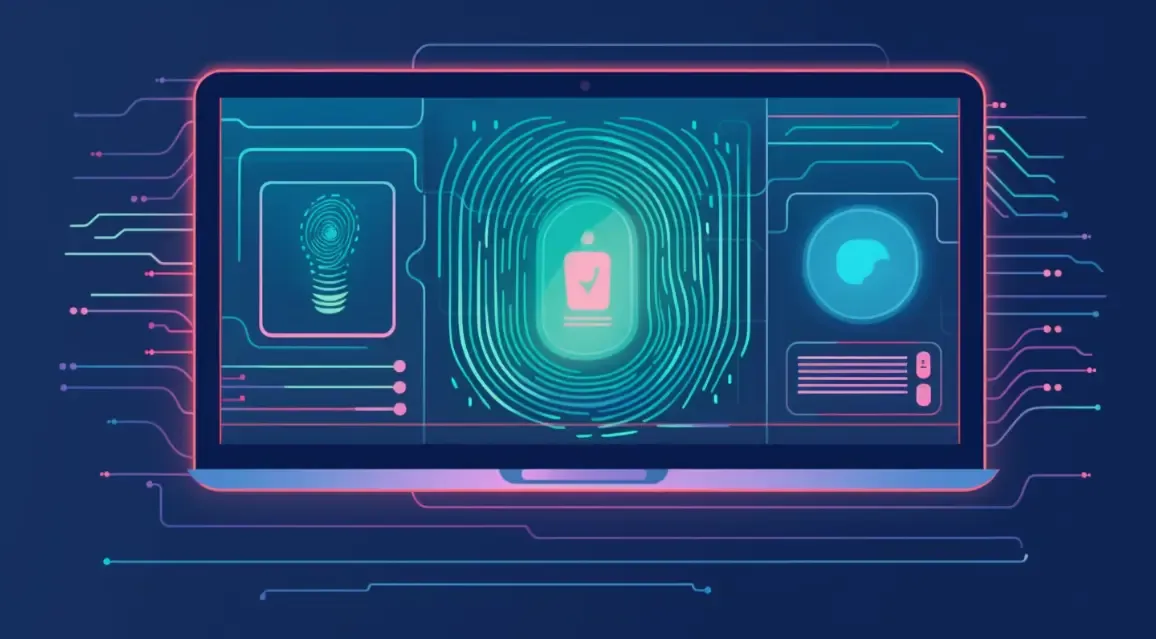
5. Learn Browser Fingerprint Detection to Identify Problems Early
Before officially using your setup, it’s recommended to run a browser fingerprint check to see whether you look like a real user to websites.
You can use the ToDetect Fingerprint Check Tool:
• Quickly identifies browser fingerprint risks
• Detects whether proxy IPs are abnormal
With the ToDetect tool, you can clearly see:
• Whether the current IP exposes proxy characteristics
• Whether the browser fingerprint is duplicated
• Whether there are risk points in the environment
This step alone can help you avoid 80% of beginner mistakes.
7. Beginner Step-by-Step Workflow Summary
Step 1: Obtain Free Proxy IPs
Choose reliable sources:
• Free proxy IP websites (such as “Xici Proxy”, “KuaiProxy Free Version”, etc.)
• Open-source proxy pool projects (search “free proxy pool” on GitHub)
Download the IP list and note the IP address, port, protocol (HTTP / HTTPS), and anonymity level.
Note: Prioritize high-anonymity proxy IPs and don’t focus only on “availability” while ignoring speed and stability.
Tip: Update your IP list daily to reduce the risk of being blocked.
Step 2: Check IP Quality
Use online tools or self-built scripts to test:
• Whether the IP exposes your real IP
• Whether it is on a blacklist
• Response speed and stability
Note: IPs with response times over 1 second can be discarded first. Only proceed with high-quality IPs.
Step 3: Configure the Browser Fingerprint Environment
What is a browser fingerprint environment? It includes User-Agent, Canvas / WebGL fingerprints, resolution, language, fonts, and more.
Configuration methods:
• Use multi-account browsers or plugins to modify the User-Agent
• Use anti-fingerprint plugins to block Canvas / WebGL leakage
Goals:
• Make your browser environment look like a real user
• Avoid IP bans caused by abnormal fingerprints
Step 4:Browser Fingerprint Detection
Before accessing the target website, run a browser fingerprint check:
• Use the ToDetect Fingerprint Check Tool
• Or other online fingerprint detection sites
What to check:
• Whether Canvas / WebGL is abnormal
• Whether browser plugins or language settings leak information
• Whether the IP matches the fingerprint
Note: Do not directly use environments with abnormal results. Consistency between IP and browser fingerprint is crucial.
Step 5: Combined Testing
Pair the selected high-anonymity proxy IPs with browser fingerprint environments, and first visit the target website:
• Simulate normal user behavior and avoid bulk operations
• Control access frequency and avoid sending many requests in a short time
Use ToDetect again to confirm:
• Whether the IP is identified as a proxy
• Whether the browser fingerprint is abnormal
Tip: Alternating between different IPs and different fingerprints is safer.
Step 6: Official Use
Once IP quality and browser environment stability are confirmed, you can officially use them for:
• Data scraping
• Multi-account login
• Website testing
Note: Free proxy IPs usually have short lifespans. Update them regularly and avoid long-term use for sensitive operations.
Step 7: Maintenance and Updates
• Regularly check IP quality: latency, anonymity, availability
• Regularly change browser fingerprint environments to avoid fingerprint-based tracking
• Long-term consideration: when your project scales up, consider paid high-anonymity proxy IPs
Final Thoughts
Free proxy IPs can absolutely be used—the key is learning how to filter and use them correctly.
By following the process above, even beginners can safely and stably use free proxy IPs and avoid frequent bans or detection.
Once your project becomes stable and your needs grow, switching to paid high-quality proxy IPs can save a lot of trial-and-error costs. With the right approach, free proxy IPs can still be very powerful, making your operations smoother and more secure.
 AD
AD