What to do when a DNS leak test fails? Here's a practical troubleshooting guide.
DNS leaks are not as obvious as disconnections or lag. They usually come with no warning at all, and are often only discovered after running a DNS leak test—by which time the issue may have existed for a long time.
If you don’t want to spend much money or deal with complicated setups, is there a low-cost solution for ordinary users? The answer is yes.
Today, we’ll share a practical method to prevent DNS leaks without spending money, along with some step-by-step instructions.

1. What is a DNS Leak? Why You Should Care
DNS acts like the “phonebook” of the internet, translating domain names into IP addresses. If you are using a proxy or VPN, but your DNS requests bypass it and go through your local network instead, this is called a DNS leak.
Common causes of DNS leaks include:
• System default DNS not replaced
• Browser using independent DNS (e.g., DoH)
• Multiple network adapters or IPv6 not disabled
Once a leak occurs, the websites you visit can still be easily recorded.
2. How to Perform DNS Leak Testing (Low-Cost Methods)
It’s actually very simple to check whether you have a DNS leak—no complex setup required.
1. Online DNS Leak Test Tools
The most direct method is to use an online DNS leak test website (https://www.todetect.net).
These tools will check the source of your DNS requests. If the result shows your real ISP instead of your proxy location, you likely have a DNS leak.
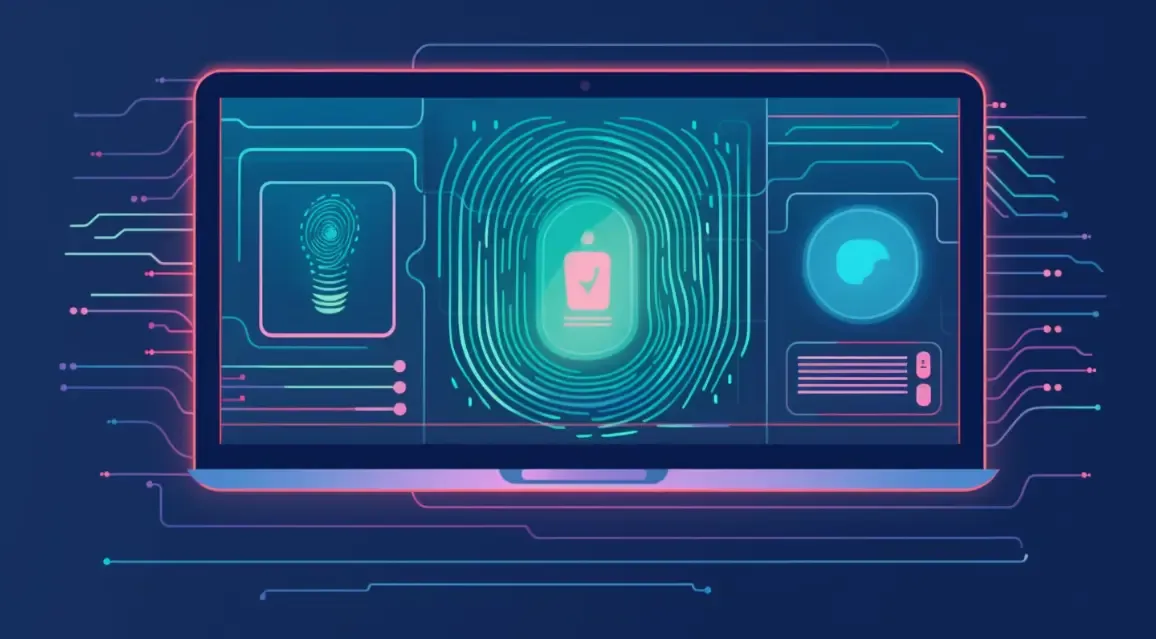
2. Combine with Browser Fingerprint Testing
Even without a DNS leak, your device may still expose information through fingerprinting. It’s recommended to test both together.
Using tools like ToDetect, you can check:
• Browser fingerprint uniqueness
• WebRTC leaks
• DNS-related information
• IP consistency
This combined approach helps you evaluate both DNS leaks and overall anonymity.
3. Comparison of DNS Leak Detection Methods
Different DNS leak detection methods have their pros and cons. Here’s a comparison table to help you choose:
| Method | Suitable For | Free | Coverage | Pros | Limitations |
|---|---|---|---|---|---|
| Online DNS Leak Test | Beginners | ✅ Yes | DNS servers, IP location | Simple and instant | No long-term monitoring |
| Browser Fingerprint Tools (e.g., ToDetect) | Intermediate users | ✅ Mostly free | Fingerprint, DNS, WebRTC | More comprehensive | Requires understanding results |
| Local Script Monitoring | Technical users | ✅ Yes | DNS query logs | Continuous monitoring | Higher setup complexity |
| Router-Level DNS Monitoring | Homes/Teams | ⚠️ Low cost | All DNS traffic | Covers all devices | Requires compatible hardware |
| VPN Built-in DNS Protection | General users | ⚠️ Partially paid | DNS routing via tunnel | Easy one-click setup | Quality varies by provider |
4. Low-Budget Ways to Monitor DNS Leaks Continuously
1. Free Tools + Regular Testing
• Run DNS leak tests weekly
• Test under different networks (WiFi / mobile data)
• Record DNS server changes
This manual method is sufficient for most personal users.
2. Automated Monitoring with Scripts (Advanced)
• Periodically call DNS test APIs
• Compare returned DNS server IPs
• Trigger alerts (Email / Telegram) on anomalies
Almost zero cost—just a running PC or free cloud instance.
3. Use Public DNS + Enforced Configuration
• Cloudflare DNS (1.1.1.1)
• Google DNS (8.8.8.8)
Also enable “Force DNS through tunnel” and “Block IPv6 leaks.”
5. Common DNS Leak Scenarios & Fixes
1. Browser-Induced DNS Leaks
• Browsers like Chrome/Firefox use DoH and may bypass proxies
Fix: Disable secure DNS or align it with your proxy
2. WebRTC Leaks
• Exposes local IP
Fix: Use extensions or privacy browsers
3. Misconfigured Proxy/VPN Tools
• Some low-cost tools lack full protection
Fix: Use services with DNS protection or configure firewall rules
6. Recommended Low-Budget Tool Stack
• DNS testing: ToDetect + IPdeep
• Fingerprint testing: ToDetect
• DNS setup: Cloudflare
• Extras: Browser privacy extensions
Final Thoughts
Online privacy protection doesn’t have to be expensive. With the right tools and simple configurations, you can effectively prevent DNS leaks on a budget.
A combination of DNS leak testing and browser fingerprint checks is enough for most daily use. The key is to test regularly.
 AD
AD