Resources
 Feature overview

 Charles
 2026-05-27 10:26
Nowadays, many people only care about whether a proxy can “open websites,” while ignoring a more hidden yet critical issue — DNS leaks.
DNS leaks usually provide no warning at all, but your privacy may still be exposed without you even noticing. That’s why more and more users are paying attention to DNS leak detection and DNS leak tests.
Today, we’ll help you understand DNS leak test results with a single image. Only by learning how to read DNS leak detection results can you truly know whether your network has any “privacy holes.”
1. What Is a DNS Leak? Understand the Basics First
Normally, when you enable a proxy, your DNS requests should also go through the proxy tunnel. But if DNS requests bypass the proxy and go directly through your local network, that’s called a DNS leak.
This can expose your online privacy, make your proxy appear connected while actually ineffective, and still allow websites to detect your real location.
2. How to Perform a DNS Leak Test Step by Step
Running a DNS leak test is actually very simple and requires no technical background. Just follow these steps:
Step 1: Open a DNS Leak Detection Tool
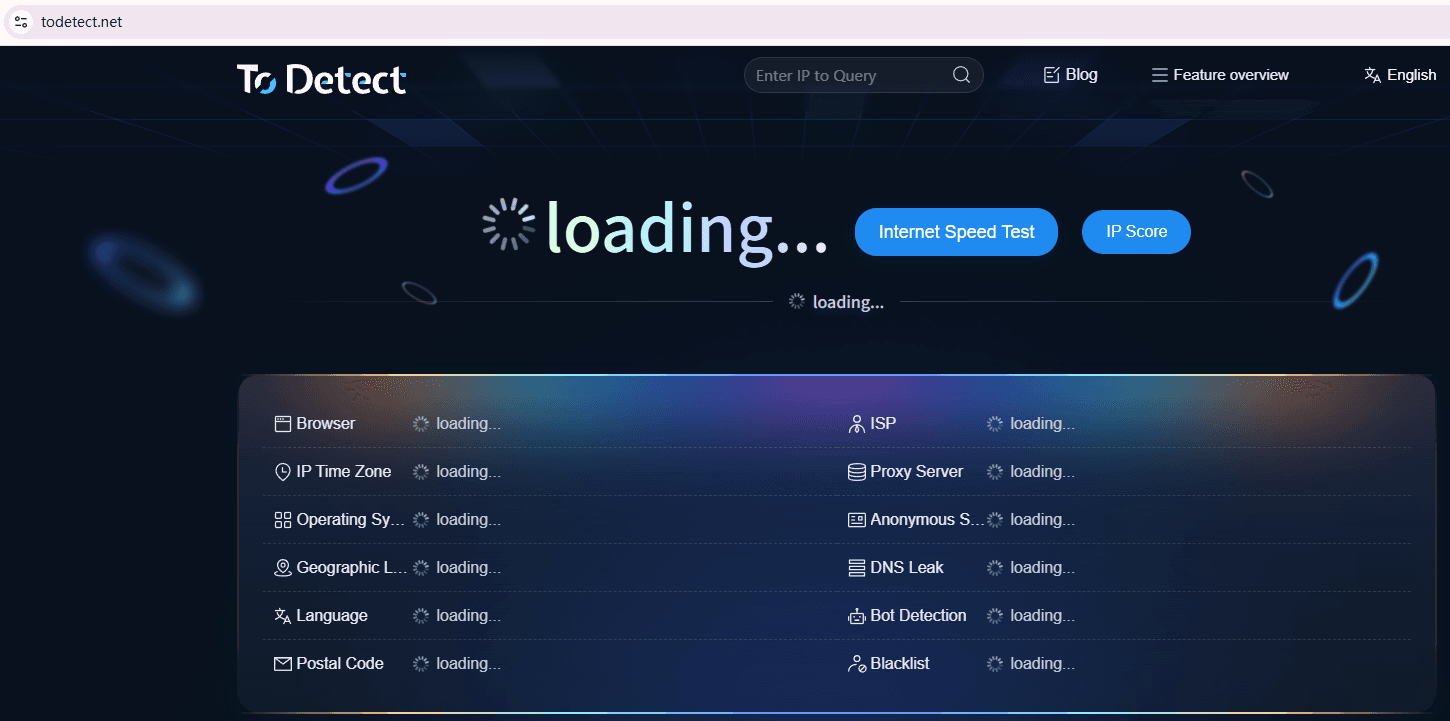
You can use an online tool such as ToDetect and open the DNS leak testing page.
Step 2: Enable Your Proxy
Make sure your proxy is already connected before starting the test, otherwise the results will be meaningless.
Step 3: Start the DNS Leak Test
Click “Start Test” or “Check DNS Leak,” and the system will automatically begin checking.
Step 4: Wait for the Results
In most cases, the report will appear within a few seconds.
3. Understand DNS Leak Test Results at a Glance (Key Points)
Many people don’t know how to read the results, but in reality you only need to focus on these 3 points:
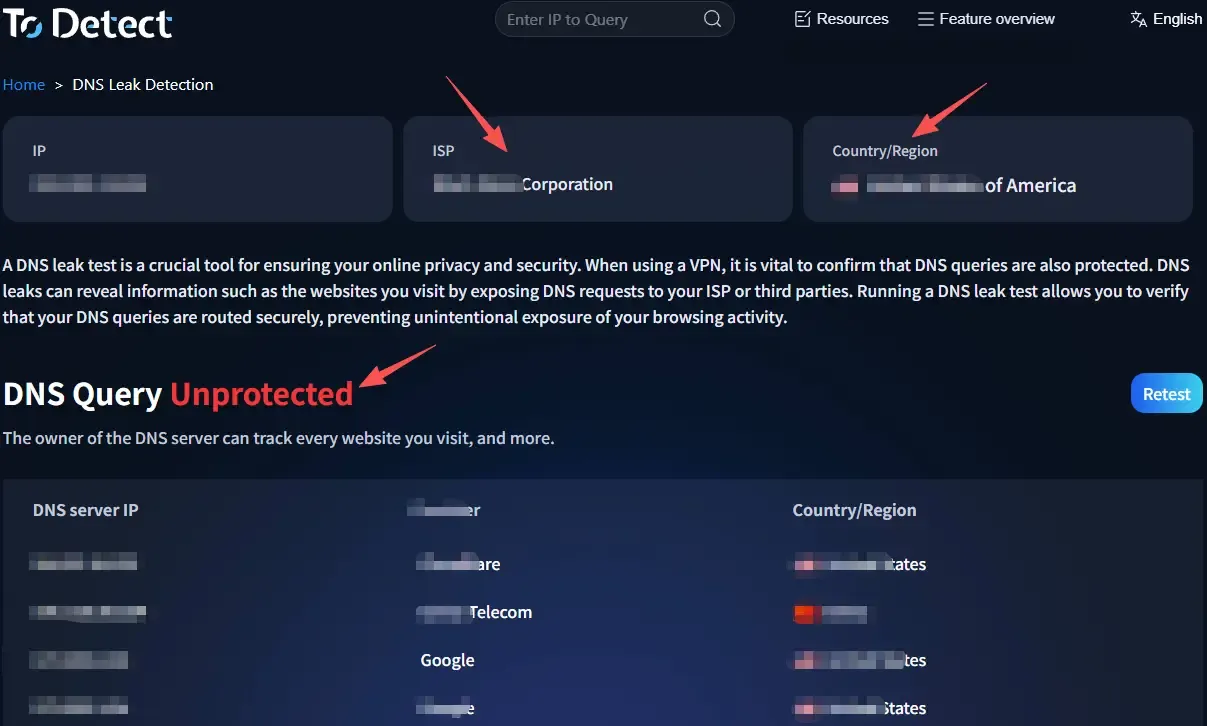
① DNS Server Source (Most Important)
This is the most important section of the result page. You’ll usually see something like:
• ISP (Local Internet Provider)
• Google DNS
• Cloudflare DNS
• Proxy-provided DNS
👉 The rule is simple: if the result shows your local ISP DNS, it usually means there is a DNS leak.
If the DNS shown belongs to your proxy node or public overseas DNS providers like Cloudflare or Google, it means your DNS requests are going through the encrypted proxy tunnel correctly.
② IP Address and Geographic Location Matching
DNS test results also usually display the DNS server IP address and geographic location. You should compare:
• Proxy node in the US → DNS should also be in the US
• Proxy node in Japan → DNS should also be in Japan
👉 If your proxy is in the US but the DNS result shows a local Chinese IP, that indicates a DNS leak risk. This detail is easy to overlook, but it’s actually one of the most important indicators.
③ Whether DNS Quantity and Sources Are “Clean”
• Under normal conditions, the DNS list should be clean and consistent — for example, 1–3 DNS servers from the same region and provider.
• If you see DNS servers mixed across multiple countries (China + US + Singapore), multiple ISPs, or highly scattered sources.
👉 This usually means the DNS traffic is not fully controlled by the proxy and there may be a DNS leak.
🔶 One-Sentence Quick Rule (Beginner Friendly)
If you don’t want to study too many technical details, just remember this: if the DNS test result shows your local ISP and real geographic IP, there is most likely a DNS leak risk.
On the other hand, if the DNS source is consistent, the IP matches the proxy region, and there is no local ISP information, then your setup is generally considered safe.
4. DNS Leak Result Quick Reference Table
| Test Item | Normal Result | Abnormal Result | Risk Level |
|---|---|---|---|
| DNS Server Source | Shows proxy-provided DNS | Shows local ISP DNS | ❌ High Risk |
| IP Address Location | Matches proxy node country | Matches real local region | ❌ High Risk |
| DNS Quantity | Single or small number of proxy DNS servers | Mixed DNS servers from multiple regions | ⚠️ Medium–High Risk |
| DNS Resolution Path | All requests go through the proxy tunnel | Some requests bypass the proxy | ❌ High Risk |
| Geographic Match | Shows proxy country | Shows your real city or local ISP | ❌ High Risk |
5. Common Causes of DNS Leaks
Many people think the proxy itself is the problem, but DNS leaks are often caused by disabled DNS protection in the proxy client, unsafe public WiFi, system DNS settings not being overridden, browsers using custom DNS independently, or IPv6 traffic bypassing the proxy.
6. Don’t Ignore Browser Fingerprint Detection
Besides DNS leaks, another commonly overlooked issue is browser fingerprinting.
Even if your DNS is protected, your browser may still expose system fonts, screen resolution, plugin information, timezone, language settings, and Canvas fingerprints.
Many websites combine DNS data with browser fingerprinting for identification, so it’s recommended to check both instead of only focusing on DNS leaks.
7. DNS Leak Detection FAQ
1. Why does the DNS leak test still show my local ISP after enabling a proxy?
This is very common and does not necessarily mean your proxy failed to connect. It usually means your DNS requests are not being routed through the proxy. Enable “DNS Leak Protection” in your proxy settings and disable IPv6 — this fixes most cases.
2. My DNS leak test looks normal, but I still feel unsafe. Why?
Many users only look at DNS results while ignoring browser fingerprinting. Even if your DNS traffic is fully proxied, your browser may still reveal fonts, resolution, language, timezone, and other information that can identify you. So “DNS secure” does not equal “fully anonymous.”
3. Is it always a problem if multiple countries appear in DNS test results?
Not necessarily, but you should pay close attention. If all DNS servers belong to your proxy provider, it may simply be normal multi-node routing. However, if local ISP DNS or unknown regional DNS servers appear, there is likely a DNS leak risk. The key is not the quantity, but whether non-proxy DNS sources appear.
4. Why are my DNS leak test results still unstable after fixing the leak?
This is usually caused by temporary fallback due to system cache or network switching. Examples include switching between WiFi and mobile data, reconnecting the proxy, or outdated DNS cache records. Try clearing your DNS cache, reconnecting the proxy, or restarting your device before testing again.
Conclusion
DNS leaks are actually not very complicated. By following a complete DNS leak testing process and correctly interpreting the results, you can quickly determine whether your current network environment is at risk.
DNS security is not something you configure once and forget forever. Regular DNS leak testing, combined with browser fingerprint checks from tools like ToDetect, provides much stronger privacy protection.
If you want a more intuitive way to view DNS leak results, use a clear visual tool such as ToDetect — you can instantly tell whether your DNS is leaking or not.